设置 Google 单点登录
OpenID Connect (OIDC) 是位于 OAuth 2.0 协议 �之上的简单身份层。它允许客户端根据身份提供商执行的身份认证来验证最终用户的身份,并以可互操作和类似 REST 的方式获取有关最终用户的基本个人资料信息。
Google Identity 提供了一套身份和访问管理工具,可实现安全的用户身份认证和访问控制。通过 APISIX 和 Google,你可以实施基于 OIDC 的身份认证流程来保护你的 API 并启用单点登录 (SSO)。
本指南将向你展示如何使用授权码流将 APISIX 与 Google 的 OAuth 2.0 API 集成以实施单点登录。
前置条件
配置 Google 凭证
转到 Google API 控制台中的 凭证 页面,并创建一个 OAuth 客户端 ID 类型的新凭证:

配置客户端的详细信息:
- 选择 Web 应用 作为 应用类型。
- 输入客户端名称,例如
apisix。 - 输入回调 URL
http://localhost:9080/anything/callback。

完成创建。
复制生成的客户端 ID 和 secret:
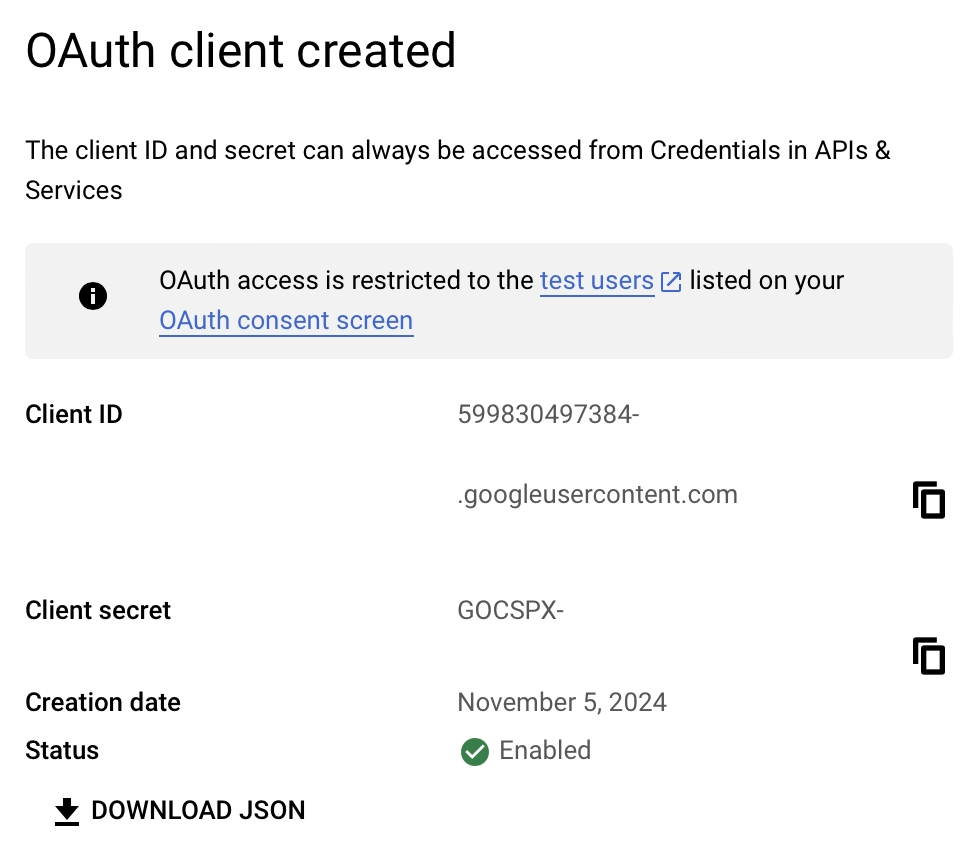
将客户端 ID 和 secret 保存到环境变量:
# replace with your values
export OIDC_CLIENT_ID=590838497384-v1v8tta846d4iki47kuaa5mompqio.apps.googleusercontent.com
export OIDC_CLIENT_SECRET=bSaINfMk1YknmtXvo8lKkfeY0iwpr9c0
在 APISIX 中创建路由
创建一个带有 openid-connect 插件的路由,如下所示:
- Admin API
- ADC
curl -i "http://127.0.0.1:9180/apisix/admin/routes" -X PUT -d '
{
  "id": "auth-with-oidc",
  "uri":"/anything/*",
  "plugins": {
    "openid-connect": {
      "bearer_only": false,
      "session": {
        "secret": "f86cf31663a9c9fa0a28c2cc78badef1"
      },
      "client_id": "'"$OIDC_CLIENT_ID"'",
      "client_secret": "'"$OIDC_CLIENT_SECRET"'",
      "discovery": "https://accounts.google.com/.well-known/openid-configuration",
      "scope": "openid profile",
      "redirect_uri": "http://localhost:9080/anything/callback"
    }
  },
  "upstream":{
    "type":"roundrobin",
    "nodes":{
      "httpbin.org:80":1
    }
  }
}'
❶ bearer_only:对于授权码授予,设置为 false。
❷ session.secret:替换为你用于会话加密和 HMAC 操作的密钥。当 bearer_only 为 false 时为必需。
❸ client_id:Google OAuth 客户端 ID。
❹ client_secret:Google OAuth 客户端 secret。
❺ discovery:Google 发现文档 的 URI。
❻ redirect_uri:使用 Google OAuth 身份认证后重定向到的 URI。
services:
  - name: httpbin Service
    routes:
      - uris:
          - /anything/*
        name: auth-with-oidc
        plugins:
          openid-connect:
            bearer_only: false
            session:
              secret: "f86cf31663a9c9fa0a28c2cc78badef1"
            client_id: "590838497384-v1v8tta846d4iki47kuaa5mompqio.apps.googleusercontent.com"
            client_secret: "bSaINfMk1YknmtXvo8lKkfeY0iwpr9c0"
            discovery: "https://accounts.google.com/.well-known/openid-configuration"
            scope: openid profile
            redirect_uri: "http://localhost:9080/anything/callback"
    upstream:
      type: roundrobin
      nodes:
        - host: httpbin.org
          port: 80
          weight: 1
❶ bearer_only:对于授权码授予,设置为 false。
❷ session.secret:替换为你用于会话加密和 HMAC 操作的密钥。当 bearer_only 为 false 时为必需。
❸ client_id:Google OAuth 客户端 ID。
❹ client_secret:Google OAuth 客户端 secret。
❺ discovery:Google 发现文档 的 URI。
❻ redirect_uri:使用 Google OAuth 身份认证后重定向到的 URI。
将配置同步到 APISIX:
adc sync -f adc.yaml
验证
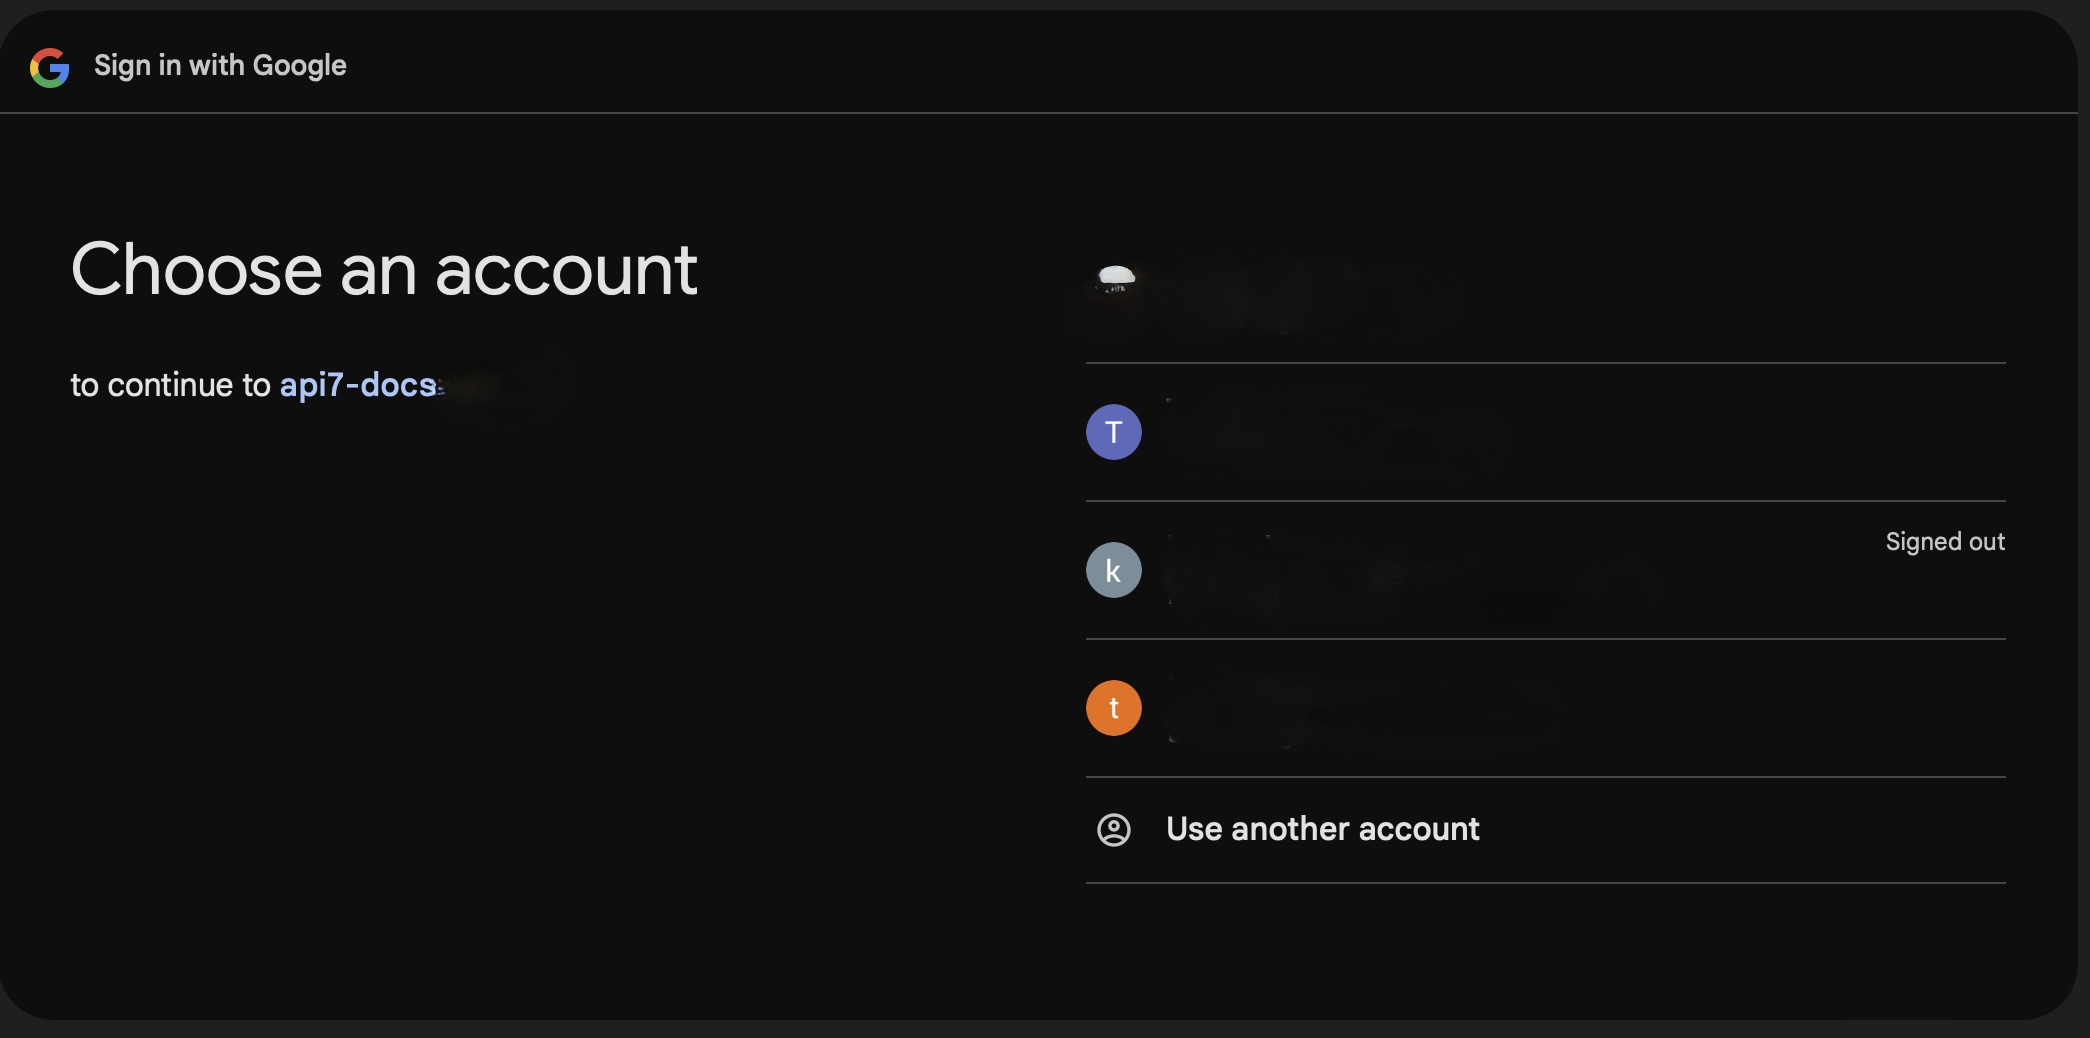
在浏览器中导航到 http://localhost:9080/anything/test。你应该被重定向到 Google 的登录页面:
登录后,请求将被转发到 httpbin.org,你应该在浏览器中看到类似以下的响应:
{
  "args": {},
  "data": "",
  "files": {},
  "form": {},
  "headers": {
    "Accept": "text/html..."
    ...
  },
  "json": null,
  "method": "GET",
  "origin": "127.0.0.1, 122.71.24.81",
  "url": "http://127.0.0.1/anything/test"
}
下一步
APISIX 支持与更多 OIDC 身份提供商集成,例如 Keycloak、Authgear、Microsoft Entra ID 和 Auth0。